3 Rules for Testing Your Athletes
/
In some ways (perhaps many ways), a strength coach is like a scientist. We gather data, form and test hypotheses, and are constantly seeking new insights into how training variables can be manipulated to create better outcomes. The weight room is our lab, and athletic performance is our field of study—and testing is central to our evaluation process.
Testing your athletes can give you a ton of information about how your athletes are performing, and how your strength and conditioning program is working. It can help you assess physical talent, identify areas of improvement, and set smart and attainable performance goals—both on an individual and team basis. A test can measure non-performance factors (like height, weight, and body composition), or performance factors ranging from pure power output (like a vertical jump) to aerobic capacity (like a 1.5-mile run test).
Identifying the tests and measurements important to your sport is the first step in implementing a successful testing program—but there are a few caveats to remember when it comes to deriving accurate and objective data from your tests.
Here are the 3 more important rules for testing your athletes, so you can test and track the metrics that matter.
1. Your Tests Must Be Valid.
In order for a test to be useful, it has to actually measure what it’s supposed to measure—in the S&C world, we call this “validity.” According to the Essentials of Strength Training and Conditioning, a test that is valid will accomplish the following objectives (251):
Measure abilities that are important in the sport. For example, a cross country team shouldn’t prioritize a 1RM bench press test, since maximal upper-body strength isn’t important in running.
Produce repeatable results (more on this in rule #2).
Appear meaningful to the athlete (so they are motivated to perform their best).
Be accessible to athletes with various levels of ability. For example, a 1RM snatch test might not be the best measurement of full-body power for an entire football team, due to the technical skill and ability required to execute the movement.
Allow for accurate scoring.
Include sufficient warm-up (or pre-test trials). This allows athletes to exert maximum effort in the true test.
An example of two valid tests that measure aerobic capacity would be the 1.5-mile run and 12-min run test. In each test, the athlete is instructed to run (after a sufficient warm-up that allows them to exert maximum effort) either 1.5 miles for time, or 12 minutes for distance. If you have the choice between several valid tests, choose the one that is easiest for you to implement—it might be easier for you to measure out 1.5 miles and time your athletes, rather than recording their distance after 12 minutes, for example, making the 1.5-mile run test more valid for your unique situation.
2. Your Tests Must Be Reliable.
“Reliability” is a measure of how accurate and repeatable a test is. In an unreliable test, an athlete could score very high on one day, but very low on another (not correlated to their actual performance capabilities). A test must be reliable in order to be valid, but simply because a test is reliable does not necessarily mean it’s valid as well. For example, a 40-yd dash and 1.5-mile run are both reliable test, but only the 40-yd dash is a valid test of speed/acceleration (while the 1.5-mile test measures aerobic fitness).
Lack of consistent performance by the athlete being tested. For example, if an athlete gives 100% effort in an initial test but only 75% in the next test (for whatever reason), it affects the reliability of the test. Good coaching can make a huge difference here!
Different test administrators. For example, in a back squat 1RM test, one test administrator might be more stringent about ensuring the athlete’s hips break the plane of the knees, while another might be more lenient.
Experience/skill level of test administrator. The results of a skinfold test for body composition requiring the use of calipers, for example, can vary greatly based on the skill level or experience of the persona administering the test.
Inconsistencies in scoring systems. Timing a 40-yd dash with a stopwatch typically yields faster times than automatic timing systems, for example, due to a reaction-time delay on the part of the test administrator. (It’s also helpful in short test like the 40 to calculate the average of multiple attempts, to help account for inconsistencies.)
Different methods of preparing athletes for the test. A well-prepared athlete will always perform better on a test, so coaches must ensure that athletes are always sufficiently prepared (preferably using the same warm-up methods) for each testing session.
Different testing surfaces, equipment, and time of day. If you implement a initial T-test for agility on turf, you cannot retest athletes on grass—that makes the test unreliable. Likewise, testing athletes first thing in the morning on one day and late afternoon for the retest might yield unreliable results, as the body tends to warm up during the day.
3. Your Tests Must Be in the Right Order.
It might seem like overkill, but recreating (to the best of your abilities) the exact same testing conditions for each testing session will yield the most reliable results. It’s pretty common for coaches to be so eager to see improvement in their athletes that they may be unintentionally more lenient during a retest (I’ve done it!)—so remember that striving to keep your data as “clean” as possible will give you the best tools for honestly evaluating the effectiveness of your program.
Non-fatiguing tests (height, weight, flexibility, body composition, vertical jump, etc.)
Agility tests (T-test, pro-agility, etc.)
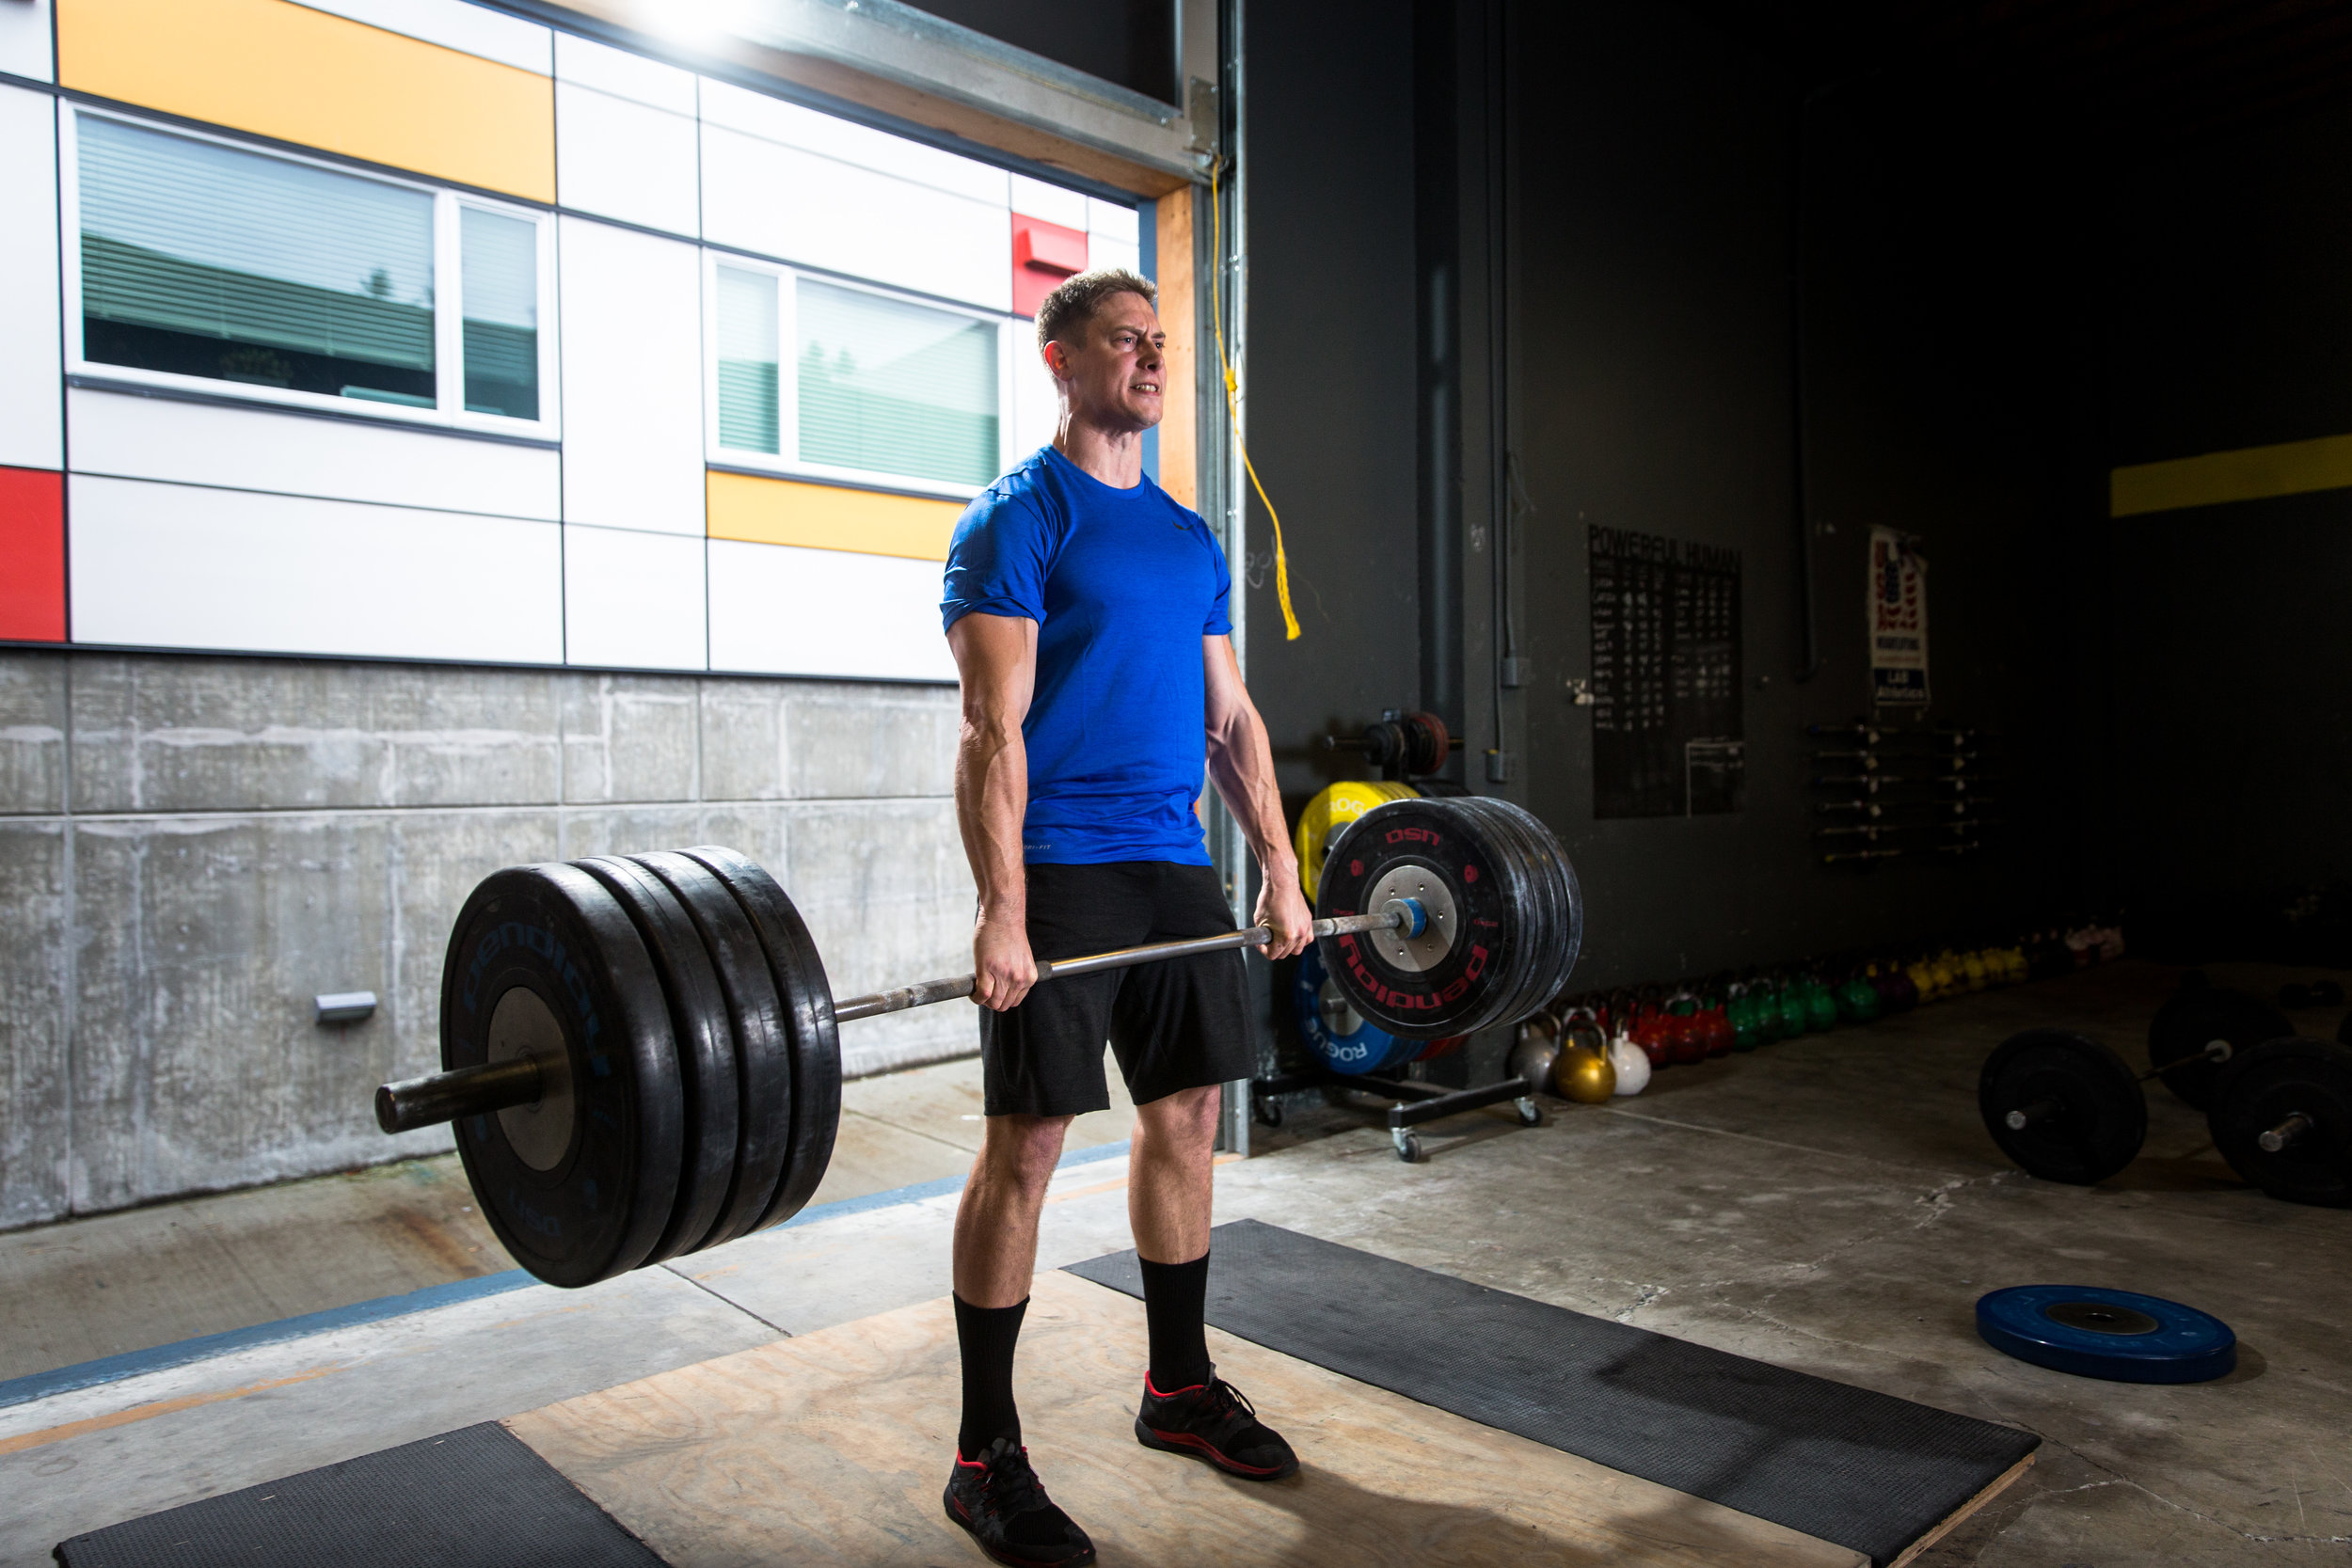
Max power and strength tests (1RM hang clean, 1RM back squat, 1RM bench press, etc.)
Sprint tests (40-yd/m sprint)
Local muscular endurance tests (push-up test, sit-up test, etc.)
Fatiguing anaerobic capacity tests (300-yd shuttle, etc.)
Aerobic capacity tests (1.5-mile run, Yo-Yo intermittent recovery test, etc.)
This sequence has a lot to do with how the body’s different energy systems replenish themselves. Essentially, you want to administer tests that require high-skill movements, like agility tests, before fatiguing tests that can affect the results of later tests, like aerobic capacity tests. Ideally, you’d be able to perform anaerobic and aerobic tests on an entirely different day than the first 5 types of test—but if you have to do it all on one day, make sure to administer those tests last.
The Bottom Line
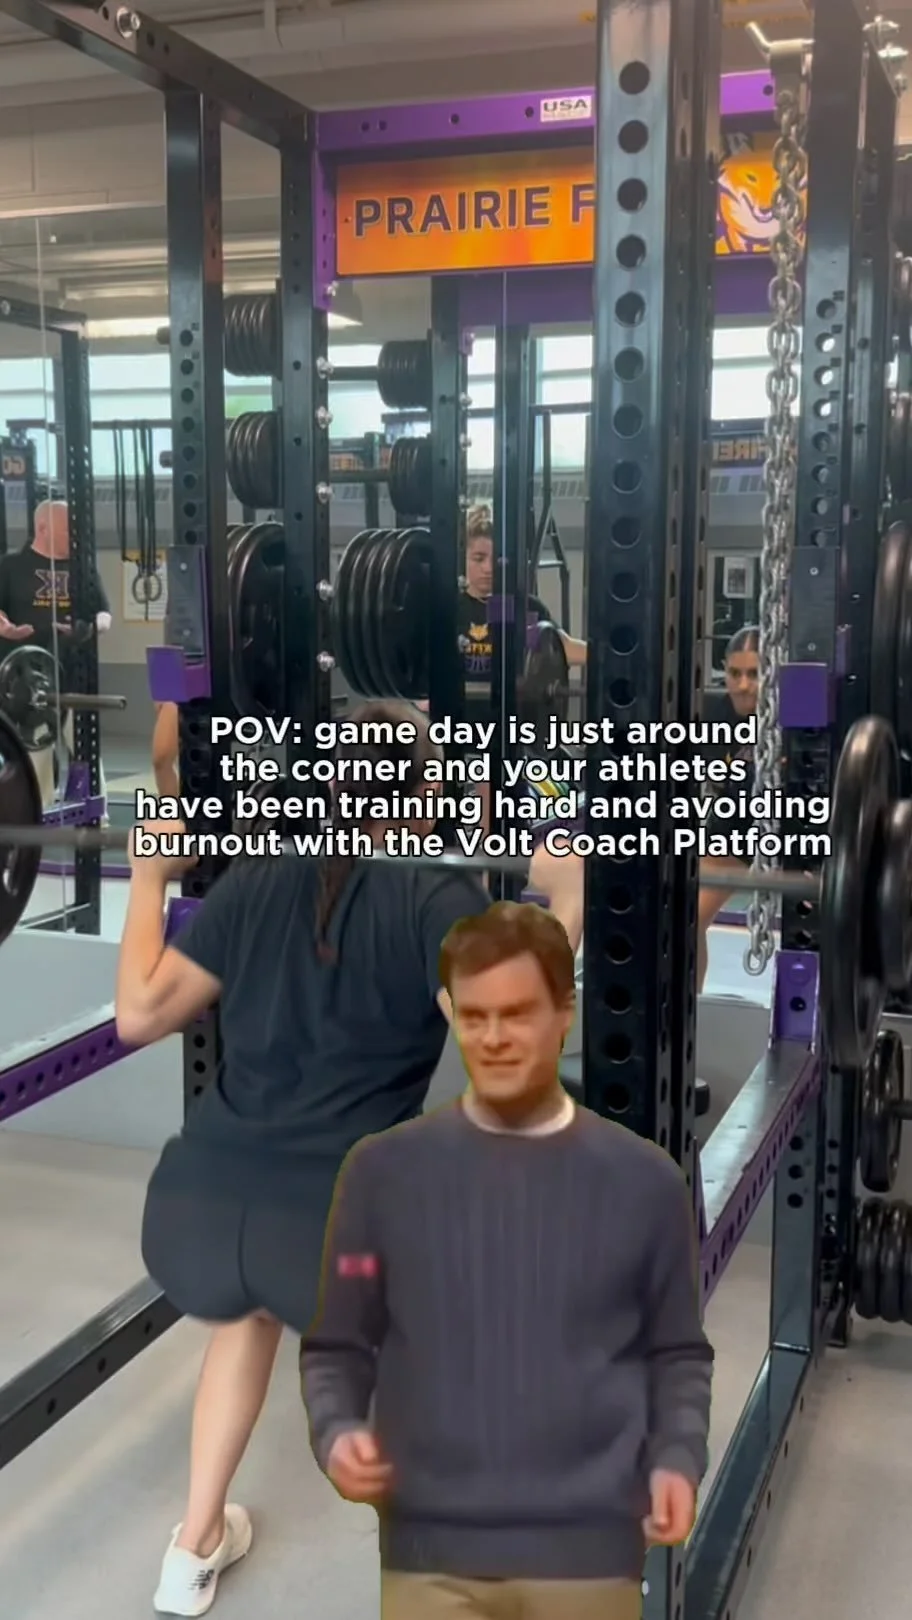
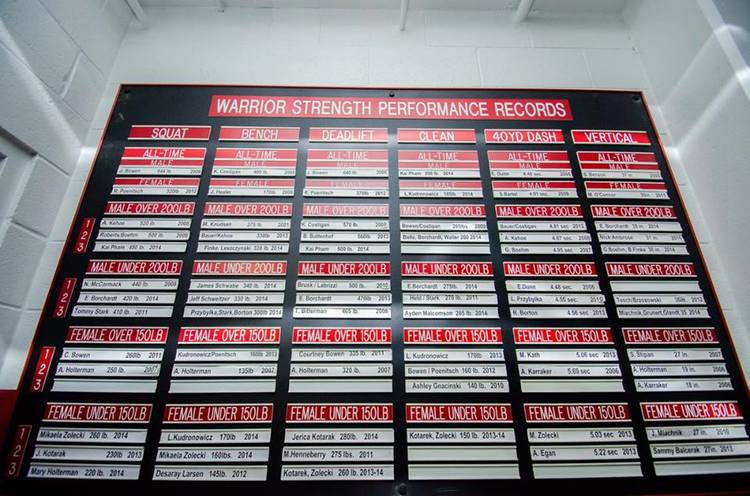
Testing your athletes—and tracking those test results over time—is core to implementing a successful strength and conditioning program. That's why we test and track athletes’ strength in the hang clean, back squat, and bench press—and within Volt, you can also track customized testing metrics beyond those core lifts. Volt's custom metrics feature allows you to track what matters to you—whether it’s 60-yd sprint time, a specific cone drill, or your own unique testing measure. Whatever tests you choose to track, make sure that they are:
Valid for your sport
Reliable and consistent
Conducted in the order that allows for best performance.
Welcome to the lab—and happy testing!
Join over 100,000 coaches and athletes using Volt's intelligent training system. For more information, click here.
Learn more about Christye and read her other posts | @CoachChristye